RadListViewヘッダーとフッター
"RadListView" は、データ項目リストの最初と最後に2つの特別な種類の要素を表示するように構成できます。 それぞれヘッダーとフッターです。 これらの要素のコンテンツは、標準のリストアイテムのコンテンツがテンプレートを介して定義される方法と同様の方法で定義されます。 そのため、"RadListView" は次のプロパティを公開します。
これらのプロパティの使用方法の簡単な例を次に示します。
例1:XMLでのRadListViewのヘッダーとフッターの定義:
<lv:RadListView.headerItemTemplate>
	<Label text="This is list header" backgroundColor="#65a565"/>
</lv:RadListView.headerItemTemplate>
<lv:RadListView.footerItemTemplate>
	<Label text="This is list footer" backgroundColor="#7fff7f"/>
</lv:RadListView.footerItemTemplate>
注釈:
"headerItemTemplate" および
"footerItemTemplate"
の値を使用して生成されたビューは、
"RadListView" のバインディングコンテキストにアクセスできるため、
バインディングコンテキストとして割り当てられたビジネスオブジェクトによって公開される値にそれらのプロパティをバインドできます。
次のビューモデル設定を使用していると仮定します。
例2:モデルを使用してヘッダーとフッターのコンテンツを定義する:
import { ObservableArray } from "tns-core-modules/data/observable-array";
import { Observable } from "tns-core-modules/data/observable";
export class ViewModel extends Observable {
constructor() {
super();
this.footerTitle = "This is list footer";
this.headerTitle = "This is list header";
this.dataItems = new ObservableArray<DataItem>();
for (let i = 0; i < 5; i++) {
this.dataItems.push(new DataItem(i, "Item " + i, "This is item description."));
}
}
get dataItems(): ObservableArray<DataItem> {
return this.get("_dataItems");
}
set dataItems(value: ObservableArray<DataItem>) {
this.set("_dataItems", value);
}
get headerTitle(): string {
return this.get("_headerTitle");
}
set headerTitle(value: string) {
this.set("_headerTitle", value);
}
get footerTitle(): string {
return this.get("_footerTitle");
}
set footerTitle(value: string) {
this.set("_footerTitle", value);
}
}
export class DataItem {
public id: number;
public itemName;
public itemDescription;
constructor(id: number, name: string, description: string) {
this.id = id;
this.itemName = name;
this.itemDescription = description;
}
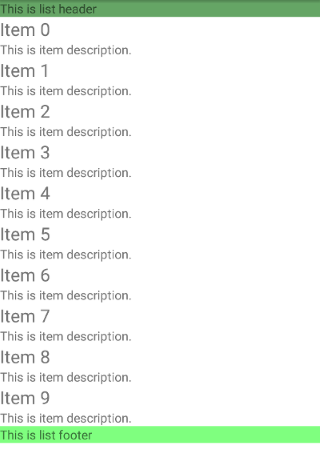
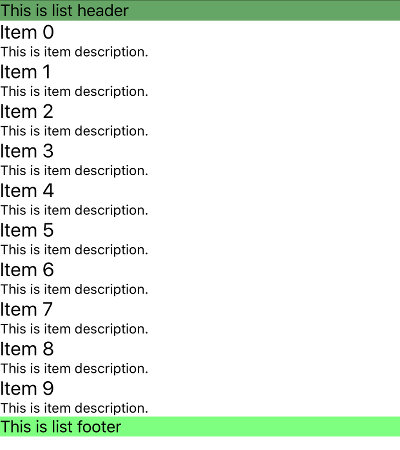
}リストは次のようになります。
図1:RadListViewのヘッダーとフッターの動作:
参考文献
このシナリオを実際に見てみたいですか? GitHubのSDKサンプルリポジトリを確認してください。これとNativeScript UIを使用した他の多くの実用的な例があります。